There are few desserts that capture the essence of spring and summer quite like a fresh strawberry pie. Imagine a vibrant display of ruby-red berries, nestled in a sweet, translucent, and wonderfully *bouncy* filling, all cradled in a perfectly flaky crust. This isn't just a dessert; it's a celebration of the harvest, a nostalgic taste of simpler times, and a guaranteed crowd-pleaser that brings smiles to every table. Forget complicated recipes; our guide focuses on achieving that irresistible, gelled texture with surprising ease, allowing the natural sweetness and beauty of fresh strawberries to shine.
For many, this pie isn't just a recipe; it's a cherished family tradition, a callback to sun-drenched picnics and backyard barbecues. It's the kind of dessert that tastes like pure joy, echoing the beloved flavors of iconic pies like those from Shoney's. The secret to its undeniable charm? A clever, simple technique that ensures a perfectly set, yet delightfully wiggly filling, making every slice a bouncy bite of berry bliss.
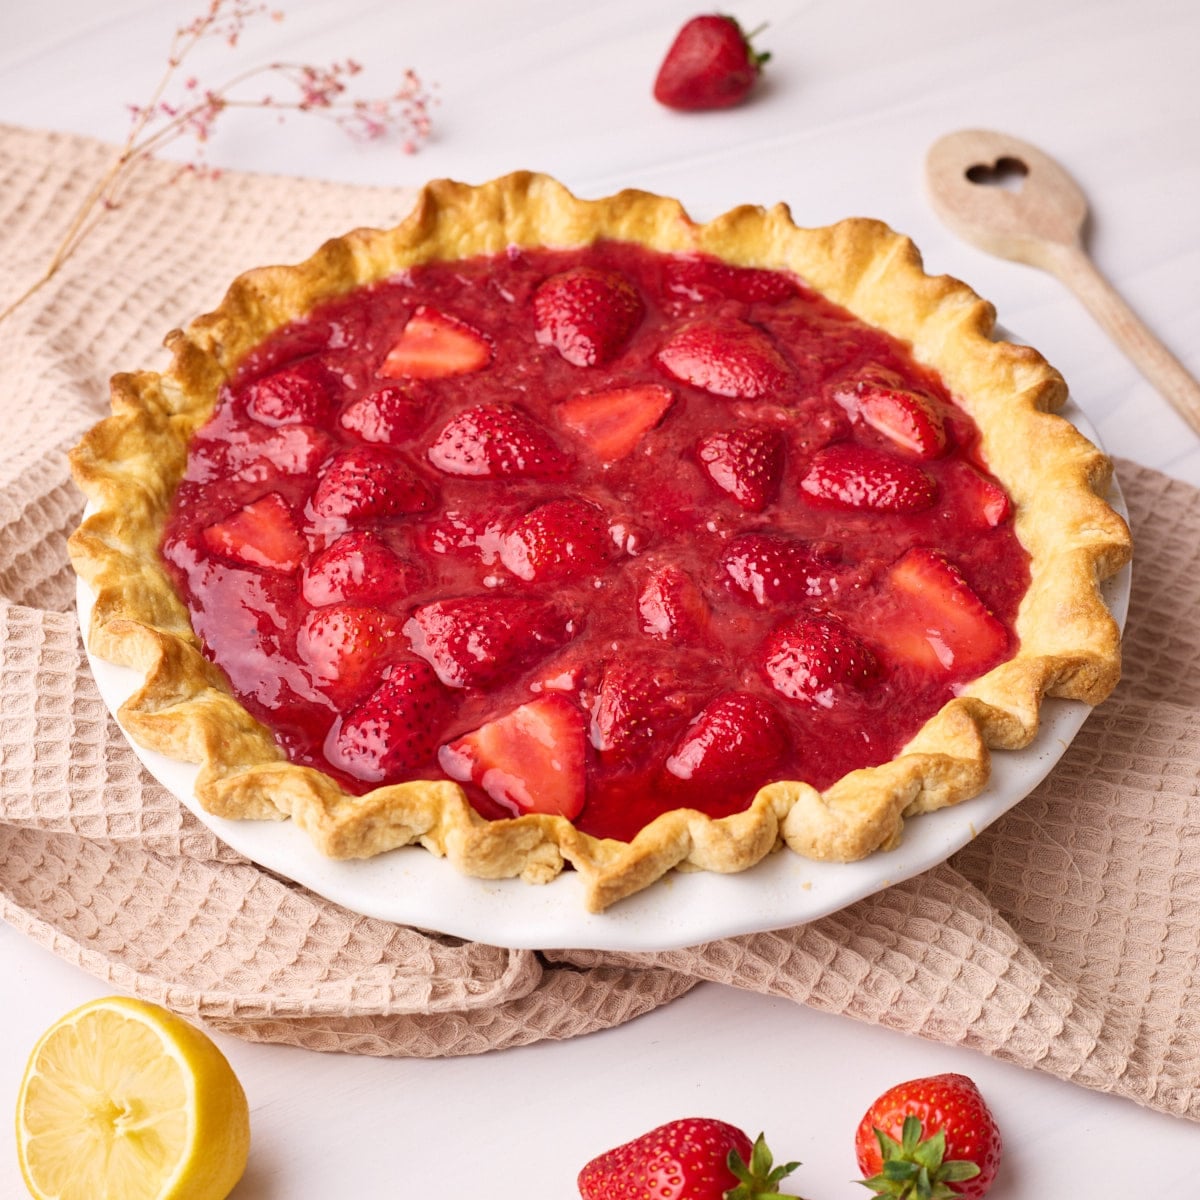
The Magic of a Bouncy Fresh Strawberry Pie
What makes a fresh strawberry pie truly stand out? It's that signature "bouncy" filling that cradles each berry, glistening and inviting. This isn't your average fruit pie, thick with cornstarch or flour; instead, it offers a refreshing, lighter texture that lets the natural flavor of the strawberries take center stage. The magic lies in using strawberry gelatin, an ingredient that not only sets the pie beautifully but also amplifies that quintessential strawberry taste. It’s a genius shortcut that delivers professional-level results with minimal effort, transforming fresh berries into an unforgettable dessert.
Why Homemade is Always Best (Especially When It's This Easy!)
While grocery store bakeries might offer their versions, nothing compares to the taste and satisfaction of a homemade fresh strawberry pie. When you make it yourself, you control the freshness of the berries, the sweetness of the filling, and the quality of the crust. Plus, the aroma that fills your kitchen as it chills is an experience in itself! The beauty of this particular recipe is its inherent simplicity. It marries the joy of baking with the convenience of a few clever shortcuts, proving that extraordinary desserts don't have to be overwhelmingly complex. This is why it's been a staple in countless families for generations.
The Allure of the Jell-O Filling
The "bouncy" quality of this pie's filling is its defining characteristic, and it’s achieved primarily through the use of strawberry gelatin. This ingredient serves multiple purposes: it provides a stable, sliceable, yet tender gelled consistency; it intensifies the strawberry flavor, making it even more vibrant; and it gives the filling that distinctive, slightly wobbly texture that's so appealing. This method ensures that your fresh strawberries remain suspended beautifully, rather than sinking or getting lost in a dense filling. If you're chasing that nostalgic taste, perhaps reminiscent of a certain classic diner dessert, then this Jell-O-based filling is exactly what you need. In fact, many consider this to be the ultimate summer fresh strawberry pie, a Shoney's copycat that hits all the right notes.
Essential Ingredients for Your Perfect Strawberry Pie
Creating this stunning pie relies on a handful of simple, high-quality ingredients. The beauty of this recipe is that it doesn't require an extensive shopping list, allowing the inherent goodness of each component to shine.
Picking the Perfect Strawberries
The star of the show, fresh strawberries, demand attention. Look for berries that are bright red all over, plump, and firm, with fresh, green caps. Avoid any with white shoulders, mushy spots, or mold. While it might be tempting to use frozen, for that truly "fresh" and vibrant taste and texture, stick with fresh. Once home, clean your strawberries thoroughly. Here are three simple methods:
- Rinse and Dry: The simplest method is to gently rinse them under cool running water just before use. Pat them thoroughly dry with paper towels to prevent excess moisture from diluting your pie.
- Vinegar Soak: For a longer-lasting berry, a quick vinegar soak can work wonders. Mix 1 cup white vinegar with 3 cups water. Soak berries for 5 minutes, then rinse well and dry completely. This helps kill mold spores.
- Berry Wash: Commercial fruit and vegetable washes can also be effective, following package directions.
After cleaning, hull the strawberries (remove the green cap and core) and slice them into halves or quarters, depending on their size and your desired aesthetic. Uniformity in size helps with even distribution in the pie.
Crust: Store-Bought Convenience or Homemade Flair?
For ultimate simplicity, a refrigerated, pre-made pie crust is your best friend. It offers consistent results and saves a significant amount of time, making this pie truly "easy." You'll need one sheet for the base. However, if you're inclined to impress or simply enjoy the process, a homemade pie crust or even a decorative braided crust (which would require a second sheet of pre-made dough) can elevate the presentation. The key is a blind-baked crust, which is essential to prevent a soggy bottom and provide a sturdy foundation for your luscious filling.
The Jell-O Factor
Strawberry gelatin is critical for both flavor and texture. It provides that signature bounce and vibrant color. While the recipe assumes standard strawberry gelatin, if you're looking to reduce sugar, a sugar-free strawberry gelatin can be substituted, along with sugar substitutes for the granulated sugar in the filling base. For those who prefer a less artificial flavor, some might experiment with unflavored gelatin and more concentrated strawberry puree, but for the classic "bouncy" pie, strawberry Jell-O is the authentic choice.
Recommended Toppings
While the pie is delightful on its own, a generous dollop of something creamy takes it to the next level. Sweetened whipped cream, either homemade (fresh heavy cream whipped with a touch of sugar and vanilla) or a high-quality store-bought whipped topping, is the traditional accompaniment. For an extra touch of indulgence, a scoop of vanilla bean ice cream or even lavender ice cream can complement the sweet strawberries beautifully.
Step-by-Step: Crafting Your Fresh Strawberry Pie
Making this pie is a straightforward process, broken down into a few manageable steps. Follow these directions closely for a flawless result every time.
Prepping and Blind Baking Your Pie Crust
- Preheat Oven: Set your oven to 450°F (230°C).
- Unroll Crust: Gently unroll one sheet of refrigerated pie crust into a standard 9-inch pie plate. Trim any excess dough from the edges, leaving about a ½-inch overhang. You can crimp the edges decoratively now or after baking.
- Prepare for Blind Baking: This is a crucial step to prevent a soggy bottom. Line the unpricked crust with a double layer of heavy-duty foil or parchment paper. To further weigh down the crust and prevent bubbling, fill the foil-lined shell with pie weights, dried beans, or uncooked rice.
- Bake Initial Phase: Bake for 8 minutes.
- Remove Weights & Finish Bake: Carefully remove the foil and weights. Continue baking for another 5-7 minutes, or until the crust is lightly golden brown and feels dry to the touch.
- Cool Completely: Transfer the baked crust to a wire rack and allow it to cool completely to room temperature. This is essential before adding the filling to prevent the crust from becoming soggy.
Creating the Silky, Bouncy Filling Base
- Combine Dry Ingredients: In a small saucepan, whisk together granulated sugar and cornstarch until thoroughly combined and lump-free.
- Add Water: Gradually whisk in cold water until the mixture is smooth.
- Cook and Thicken: Place the saucepan over medium heat. Bring the mixture to a boil, stirring constantly. Continue to cook and stir for about 2 minutes after it reaches a boil, until the mixture has thickened to a clear, gel-like consistency.
- Dissolve Gelatin: Remove the saucepan from the heat immediately. Stir in the strawberry gelatin powder until it is completely dissolved. Ensure there are no grainy bits remaining.
- Cool Slightly: Refrigerate the gelatin mixture for 15 to 20 minutes, or until it has cooled slightly but is still pourable. It should be thick enough to cling to a spoon but not fully set. This step is vital to prevent the fresh strawberries from "cooking" in hot gelatin and helps achieve that perfect bouncy texture.
Arranging Your Fresh Strawberry Bounty
While the gelatin mixture is chilling, spread and arrange your cleaned, hulled, and sliced fresh strawberries evenly in the bottom of your cooled, blind-baked pie crust. You can arrange them in concentric circles, in a beautiful fan pattern, or simply spread them out for a more rustic look. Ensure they are distributed well so every slice gets plenty of berry goodness.
The Final Chill: Patience is a Virtue
- Pour Filling: Gently pour the slightly cooled gelatin mixture over the arranged strawberries in the pie crust. Make sure the liquid flows around and coats all the berries.
- Refrigerate: Carefully transfer the pie to the refrigerator. Chill for at least 3-4 hours, or preferably overnight, until the filling is completely set and firm.
- Serve: Once fully chilled and set, slice the pie with a sharp knife and serve. Top each slice with a generous dollop of whipped cream or a scoop of your favorite ice cream, if desired.
Tips for Strawberry Pie Perfection and Variations
Achieving the perfect homemade fresh strawberry pie is within reach, and a few insider tips can make all the difference, ensuring your dessert is not just good, but absolutely unforgettable.
Troubleshooting Common Pie Woes
- Soggy Crust: The number one culprit is not blind baking the crust properly or not allowing it to cool completely before adding the filling. Ensure your crust is golden and dry, and fully at room temperature.
- Filling Not Setting: This usually happens if the gelatin wasn't fully dissolved or if the ratio of ingredients was off. Make sure the sugar/cornstarch mixture boils and thickens properly, and that the gelatin is stirred in until completely invisible. Also, ensure adequate chilling time.
- Berries Floating/Uneven: Gently arranging berries and ensuring the gelatin mixture is slightly cooled (not hot) before pouring helps keep them in place.
Elevating Your Presentation
A beautiful presentation makes the pie even more appealing. Consider creating a decorative crimped edge on your crust. When arranging the strawberries, carefully fan them out from the center or create neat concentric circles for a striking visual. For serving, a dusting of powdered sugar on the whipped cream, or a fresh mint leaf garnish, can add an elegant touch. Remember, we eat with our eyes first!
Exploring Low-Sugar and Other Twists
The reference context briefly mentions a low-sugar version, which is easily achievable. Simply swap regular strawberry gelatin for sugar-free strawberry gelatin and replace the granulated sugar in the filling base with a suitable sugar substitute (like erythritol or stevia, adjusting to taste). This allows those with dietary restrictions to still enjoy this delightful treat. You could also experiment with adding a tiny splash of lemon juice to the filling for a brighter, more tart flavor that complements the sweet strawberries.
This homemade fresh strawberry pie, with its vibrant colors and irresistible bouncy filling, truly is a dessert masterpiece that anyone can create. It's a testament to how simple ingredients, combined with a touch of care, can yield extraordinary results. Whether you're making it for a special occasion, a summer gathering, or simply to satisfy a craving, this pie is guaranteed to bring joy. So, gather your fresh berries, roll out that crust, and prepare to delight your taste buds with this unforgettable slice of summer.
