Easy Fresh Strawberry Pie: Your Simple Jell-O Dessert for Any Occasion
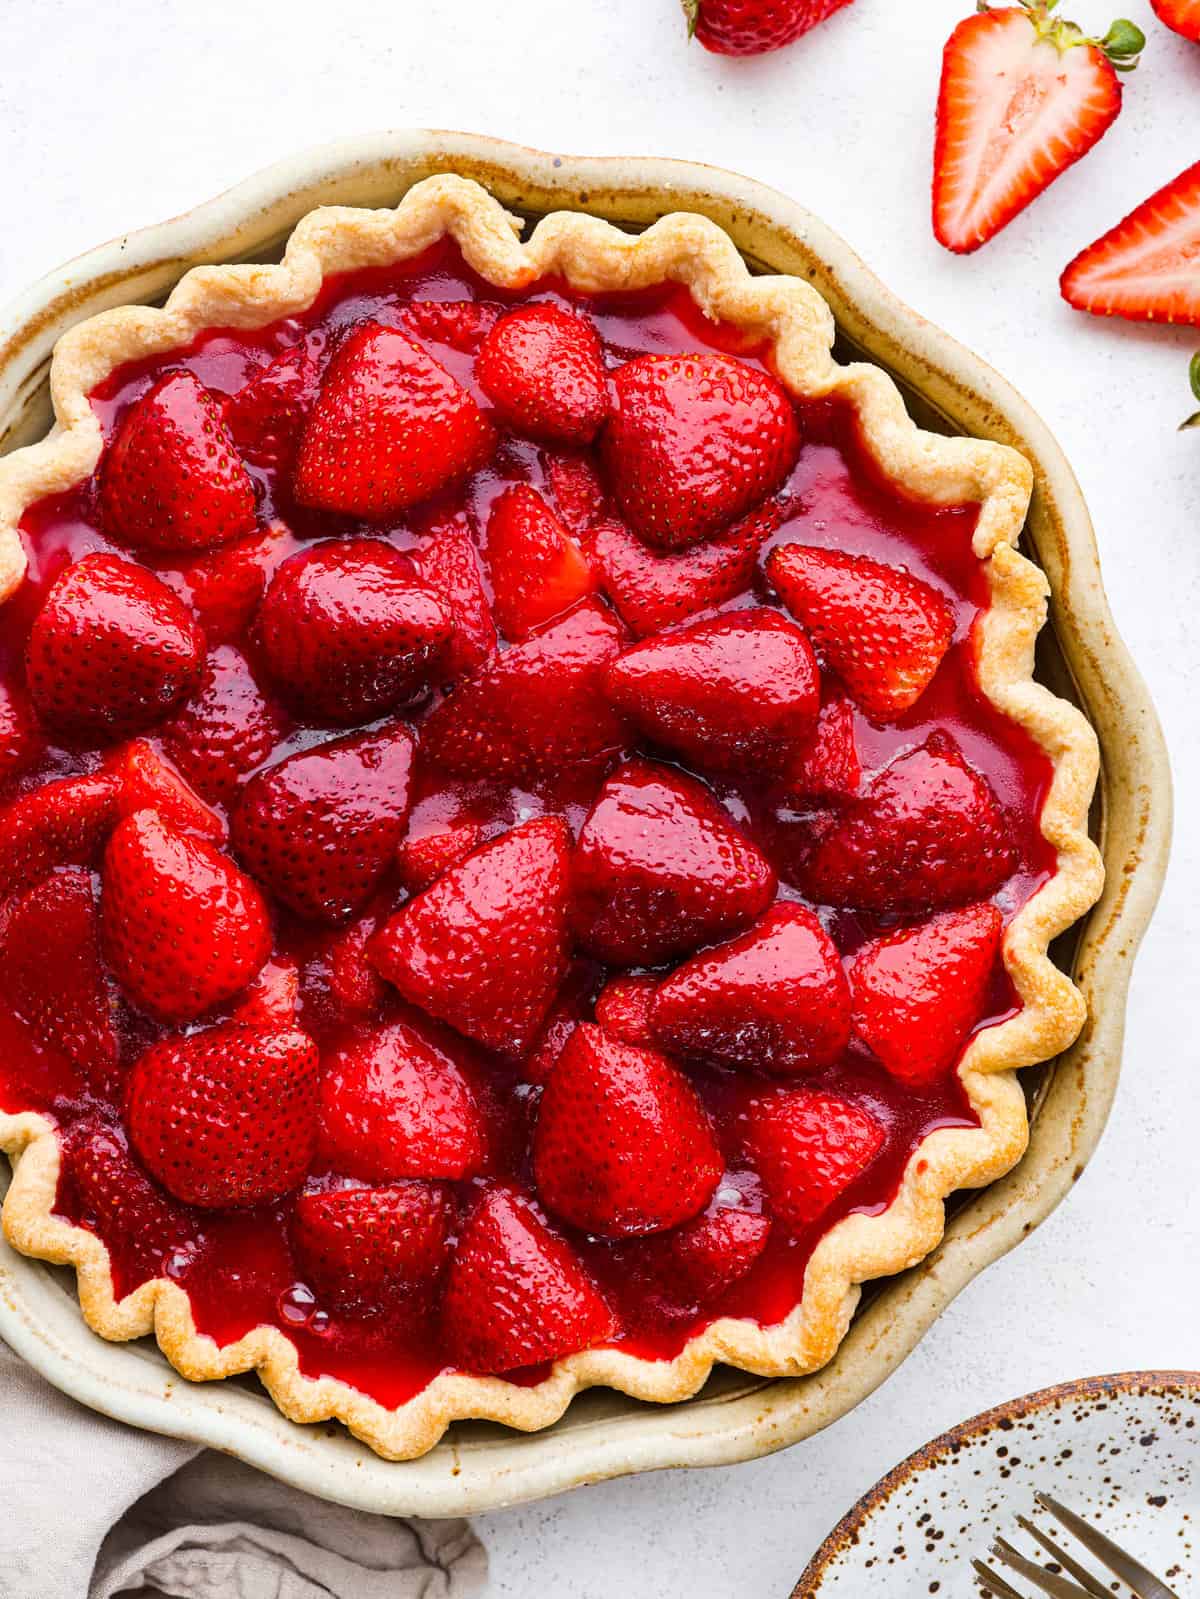
There are few desserts that capture the essence of summer quite like a vibrant, sweet, and perfectly set fresh strawberry pie. Imagine a flaky crust brimming with plump, ruby-red strawberries encased in a glistening, bouncy gel, crowned with a cloud of whipped cream. While it might sound like a labor of love, we're here to reveal the secret to making an absolutely show-stopping fresh strawberry pie that's incredibly easy: the magic of Jell-O. This recipe isn't just simple; it's a nostalgic journey for many, often bringing to mind beloved diner desserts or cherished family gatherings. If you've ever dreamt of recreating that iconic, irresistible strawberry pie from places like Shoney's, you've stumbled upon the perfect guide. Our Jell-O-infused approach ensures a consistently perfect texture and an intensified strawberry flavor, making it a guaranteed crowd-pleaser from your first bite.Why This Easy Fresh Strawberry Pie is a Must-Try
This isn't just another dessert recipe; it's a celebration of simplicity and sensational flavor. Here’s why this particular fresh strawberry pie stands out:- Effortless Elegance: Despite its impressive appearance, this pie is remarkably simple to assemble. We leverage convenient ingredients like refrigerated pie crust and strawberry gelatin to cut down on prep time without sacrificing an ounce of homemade taste.
- Bouncy, Glistening Filling: The Jell-O isn't just for setting; it contributes to that beautiful, translucent, and slightly "bouncy" texture that is the hallmark of a great fresh strawberry pie. It also locks in the natural sweetness and vibrant color of the berries. If you want to dive deeper into achieving that perfect consistency, check out our guide on Homemade Fresh Strawberry Pie: A Simple Guide to the Bouncy Filling.
- Seasonal Perfection: When strawberries are at their peak, bursting with sweetness and juiciness, there's no better way to showcase their bounty. This pie allows the natural flavor of the fresh berries to shine, complemented by the sweet gel.
- Crowd-Pleasing & Nostalgic: This recipe has graced countless family tables and potlucks for decades. Its familiar, comforting taste resonates with almost everyone. Many describe it as a spot-on replica of their favorite restaurant-style strawberry pies, especially those reminiscent of Shoney's. For a deeper dive into that classic taste, explore The Ultimate Summer Fresh Strawberry Pie: Shoney's Copycat.
- Versatile for Any Occasion: Whether it's a casual backyard BBQ, a festive holiday meal, or a simple weeknight treat, this pie fits seamlessly into any setting.
Key Ingredients for Your Perfect Strawberry Pie
The beauty of this recipe lies in its concise list of readily available ingredients. You don't need exotic items to create something extraordinary.- Refrigerated Pie Crust: For ultimate convenience, a single sheet of store-bought refrigerated pie crust is your best friend. It provides a consistent, flaky base without the fuss of making dough from scratch. Look for brands that are known for quality – our Test Kitchen often has picks for the best premade crusts. If you're feeling ambitious and want to add a decorative touch like a braided edge, you'll need a second sheet.
- Fresh Strawberries: The star of the show! You'll want about 1 to 1.5 pounds of ripe, juicy strawberries.
- Selection Tip: Choose berries that are bright red all over, plump, and firm. Avoid any with white patches, mold, or softness.
- Cleaning Tip: Gently rinse your strawberries under cool water, then pat them dry thoroughly with a paper towel. Hull them by either slicing off the green top or using a small paring knife to scoop out the core. Slice larger berries in half for even distribution.
- Strawberry Gelatin (Jell-O): This is the secret ingredient that gives our pie its unique texture and boosts the strawberry flavor. One small box (3 oz) is typically sufficient.
- Granulated Sugar & Cornstarch: These two form the base of our thickened filling. The cornstarch acts as a thickener, giving the gelatin mixture body before the Jell-O fully sets, preventing a watery pie.
- Water: To dissolve the sugar, cornstarch, and gelatin.
- Optional Whipped Cream or Topping: While optional, a generous dollop of sweetened whipped cream or whipped topping elevates this pie to another level, adding a creamy contrast to the sweet berries.
Step-by-Step Guide to Your Simple Jell-O Strawberry Pie
Ready to create this masterpiece? Follow these simple steps for a truly unforgettable dessert.Step 1: Prep and Blind Bake Your Pie Crust
Preheat your oven to 450°F (230°C). Carefully unroll your refrigerated pie crust into a standard 9-inch pie plate. Trim any excess crust, leaving about a half-inch overhang, which you can then crimp for a decorative edge. To prevent the crust from bubbling up and ensure a crisp, even base, line the unpricked crust with a double thickness of heavy-duty aluminum foil or parchment paper. For extra insurance, fill the foil-lined crust with pie weights, dried beans, or uncooked rice.
Step 2: Bake and Cool the Crust
Bake the crust in the preheated oven for 8 minutes. This initial bake sets the crust. Carefully remove the foil (and pie weights/beans/rice), and return the crust to the oven for another 5 minutes, or until it's lightly golden brown and firm. This second bake crisps up the bottom. Once baked, transfer the pie crust to a wire rack and allow it to cool completely to room temperature. A warm crust can melt the gelatin, leading to a soggy pie.
Step 3: Cook the Sugar, Cornstarch, and Water Base
In a small saucepan, whisk together the granulated sugar, cornstarch, and cold water until the mixture is smooth and no lumps remain. This is crucial for a smooth filling. Place the saucepan over medium heat and bring the mixture to a rolling boil, stirring constantly. Continue to cook and stir for about 2 minutes after it boils, until the mixture has significantly thickened and is translucent. It should coat the back of a spoon.
Step 4: Dissolve the Gelatin and Chill the Mixture
Remove the saucepan from the heat immediately. Stir in the strawberry gelatin powder until it is completely dissolved. Keep stirring until no granules are visible. Transfer this hot gelatin mixture to a separate bowl (to speed up cooling) and refrigerate for 15 to 20 minutes, or until it has slightly cooled and thickened to a syrupy consistency, but is not yet set. You want it cool enough not to "cook" the fresh berries, but still liquid enough to pour easily.
Step 5: Arrange the Fresh Strawberries
While the gelatin mixture is chilling, spread and arrange your cleaned and sliced fresh strawberries evenly in the cooled, baked pie crust. You can either pile them artfully or arrange them in concentric circles for a truly stunning presentation. Don't be shy; pack them in!
Step 6: Assemble and Refrigerate
Once the gelatin mixture has reached the desired consistency, pour it slowly and evenly over the arranged strawberries in the pie crust. Make sure the gelatin mixture seeps into all the crevices between the berries, fully encasing them. Gently tap the pie plate on the counter a few times to release any air bubbles and ensure even distribution. Refrigerate the pie for at least 3-4 hours, or preferably overnight, until the filling is completely set and firm. The longer it chills, the better it will hold its shape when sliced.
Tips for Elevating Your Fresh Strawberry Pie (and Making it Your Own)
This recipe is fantastic as is, but here are some ideas to make it even more special:- Crust Adventures: While store-bought is convenient, feel free to use your favorite homemade pie crust recipe. For a truly elegant touch, consider adding a braided crust edge or small decorative cutouts around the rim.
- Berry Blends: Don't limit yourself to just strawberries! A mix of fresh raspberries or blueberries alongside the strawberries can add another layer of flavor and color. Just ensure the total berry volume remains consistent.
- Sweetness Control: The reference mentioned a low-sugar version. If you prefer less sweetness, you can slightly reduce the granulated sugar in the filling, as the Jell-O itself is sweet. Alternatively, look for sugar-free strawberry gelatin options.
- Topping Variations:
- Classic Whipped Cream: Always a winner. Make your own by whipping heavy cream with a touch of sugar and vanilla extract.
- Vanilla Bean Ice Cream: A scoop of premium vanilla bean ice cream melting alongside a slice is pure bliss. Lavender ice cream, as suggested, also offers a sophisticated pairing.
- Mint Garnish: A few fresh mint leaves can add a refreshing visual and aromatic element.
- Chocolate Drizzle: For the ultimate indulgence, a light drizzle of melted dark chocolate over the top before serving creates a striking contrast.
- Making Ahead: This pie is an excellent make-ahead dessert. Prepare it the day before your event, and it will be perfectly chilled and set when it's time to serve.
- Storage: Store any leftover pie, covered loosely with plastic wrap, in the refrigerator for up to 3-4 days.
